Intelligent Product/Apache NiFi
Mac OS 에서 Apache Nifi 사용해보기 #2 - NiFi 설치
Jasper_Dev
2022. 10. 12. 22:51
설치 방법
1) Docker 를 이용한 설치
- Nifi는 Docker 를 이용한 설치 방법을 제공한다.
https://hub.docker.com/r/apache/nifi
Docker Hub
hub.docker.com
docker run --name nifi \
  -p 8080:8080 \
  -d \
  apache/nifi:latest
기동 완료 후 로컬서버로 접속하여 Nifi 화면 확인 가능하다.
2) Homebrew 를 이용한 설치
brew install NiFi(Mac M1 사용시 Rosetta 터미널에서 시도하면 brew명령어에서 에러가 발생한다.)
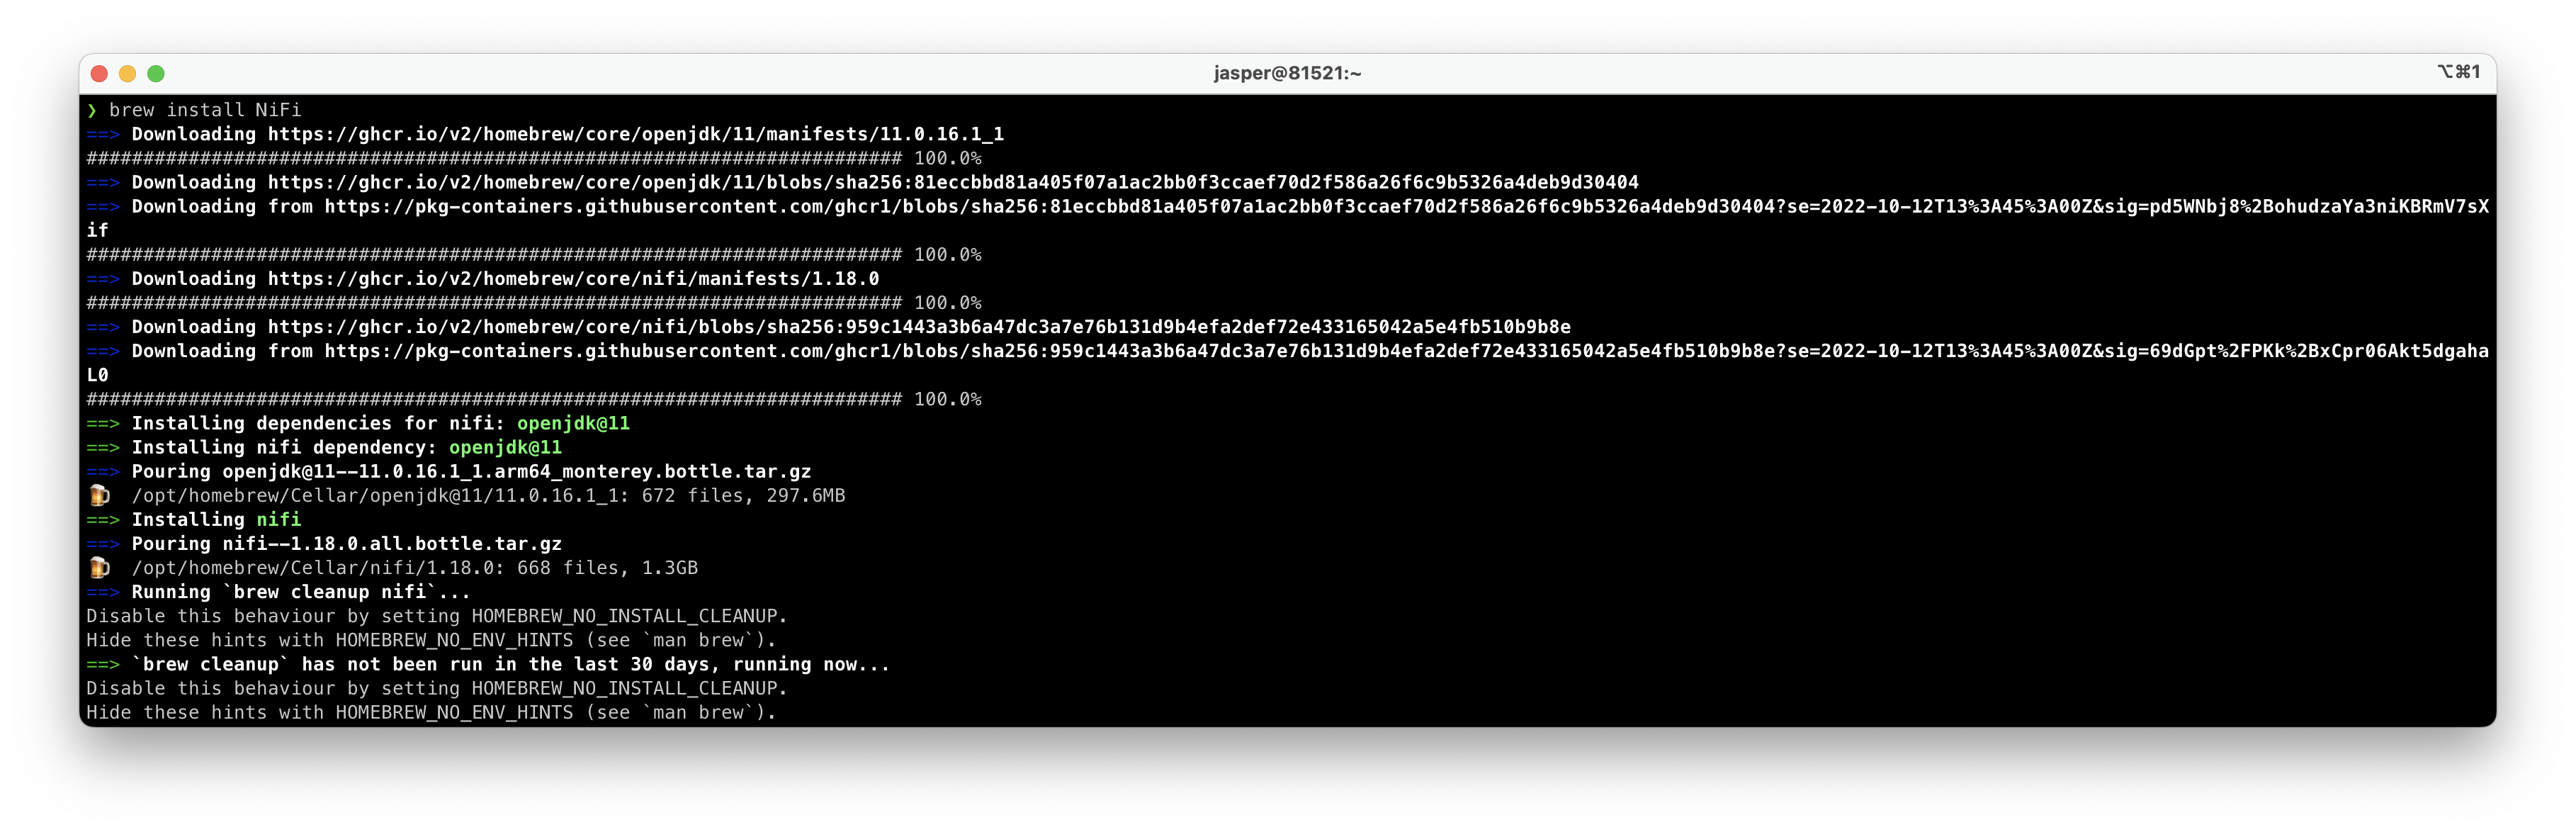
위와 같은 문구가 나오면 설치가 완료된 것이다.
설치가 잘 되었는 지는 아래 명령어를 입력하여 확인 가능하다.
brew info NiFi
nifi
nifi 시작
nifi start

NiFi 실행시 다음과 같은 문구가 나오게 되면 권한이 없는 것이므로 sudo를 붙인다.

http://localhost:8080/nifi/ 주소로 입력하여 아래와 같이 표출되면 정상적으로 서비스 가동중인 것이다.
※ nifi.properties 변경
접속 포트 정보등 nifi의 설정 정보는 nifi.properties에서 관리하고 있다.
brew info nifi 입력하시면 설치 경로를 확인할 수 있다.
❯ brew info nifi
==> nifi: stable 1.18.0 (bottled)
Easy to use, powerful, and reliable system to process and distribute data
https://nifi.apache.org
/opt/homebrew/Cellar/nifi/1.18.0 (5,240 files, 2.6GB) *
  Poured from bottle on 2022-10-12 at 22:37:16
From: https://github.com/Homebrew/homebrew-core/blob/HEAD/Formula/nifi.rb
License: Apache-2.0
==> Dependencies
Required: openjdk@11 ✔
==> Analytics
install: 375 (30 days), 1,034 (90 days), 4,504 (365 days)
install-on-request: 375 (30 days), 1,034 (90 days), 4,488 (365 days)
build-error: 0 (30 days)
위 내용에서 '/opt/homebrew/Cellar/nifi/1.18.0'에 설치되어있음을 확인할 수 있다.
cd /opt/homebrew/Cellar/nifi/1.18.0/libexec/confnifi.properties 파일을 열어서 수정한다.

# web properties #
#############################################

# For security, NiFi will present the UI on 127.0.0.1 and only be accessible through this loopback interface.
# Be aware that changing these properties may affect how your instance can be accessed without any restriction.
# We recommend configuring HTTPS instead. The administrators guide provides instructions on how to do this.

nifi.web.http.host=127.0.0.1
nifi.web.http.port=8081
nifi.web.http.network.interface.default=
※ 추가 확인 필요사항
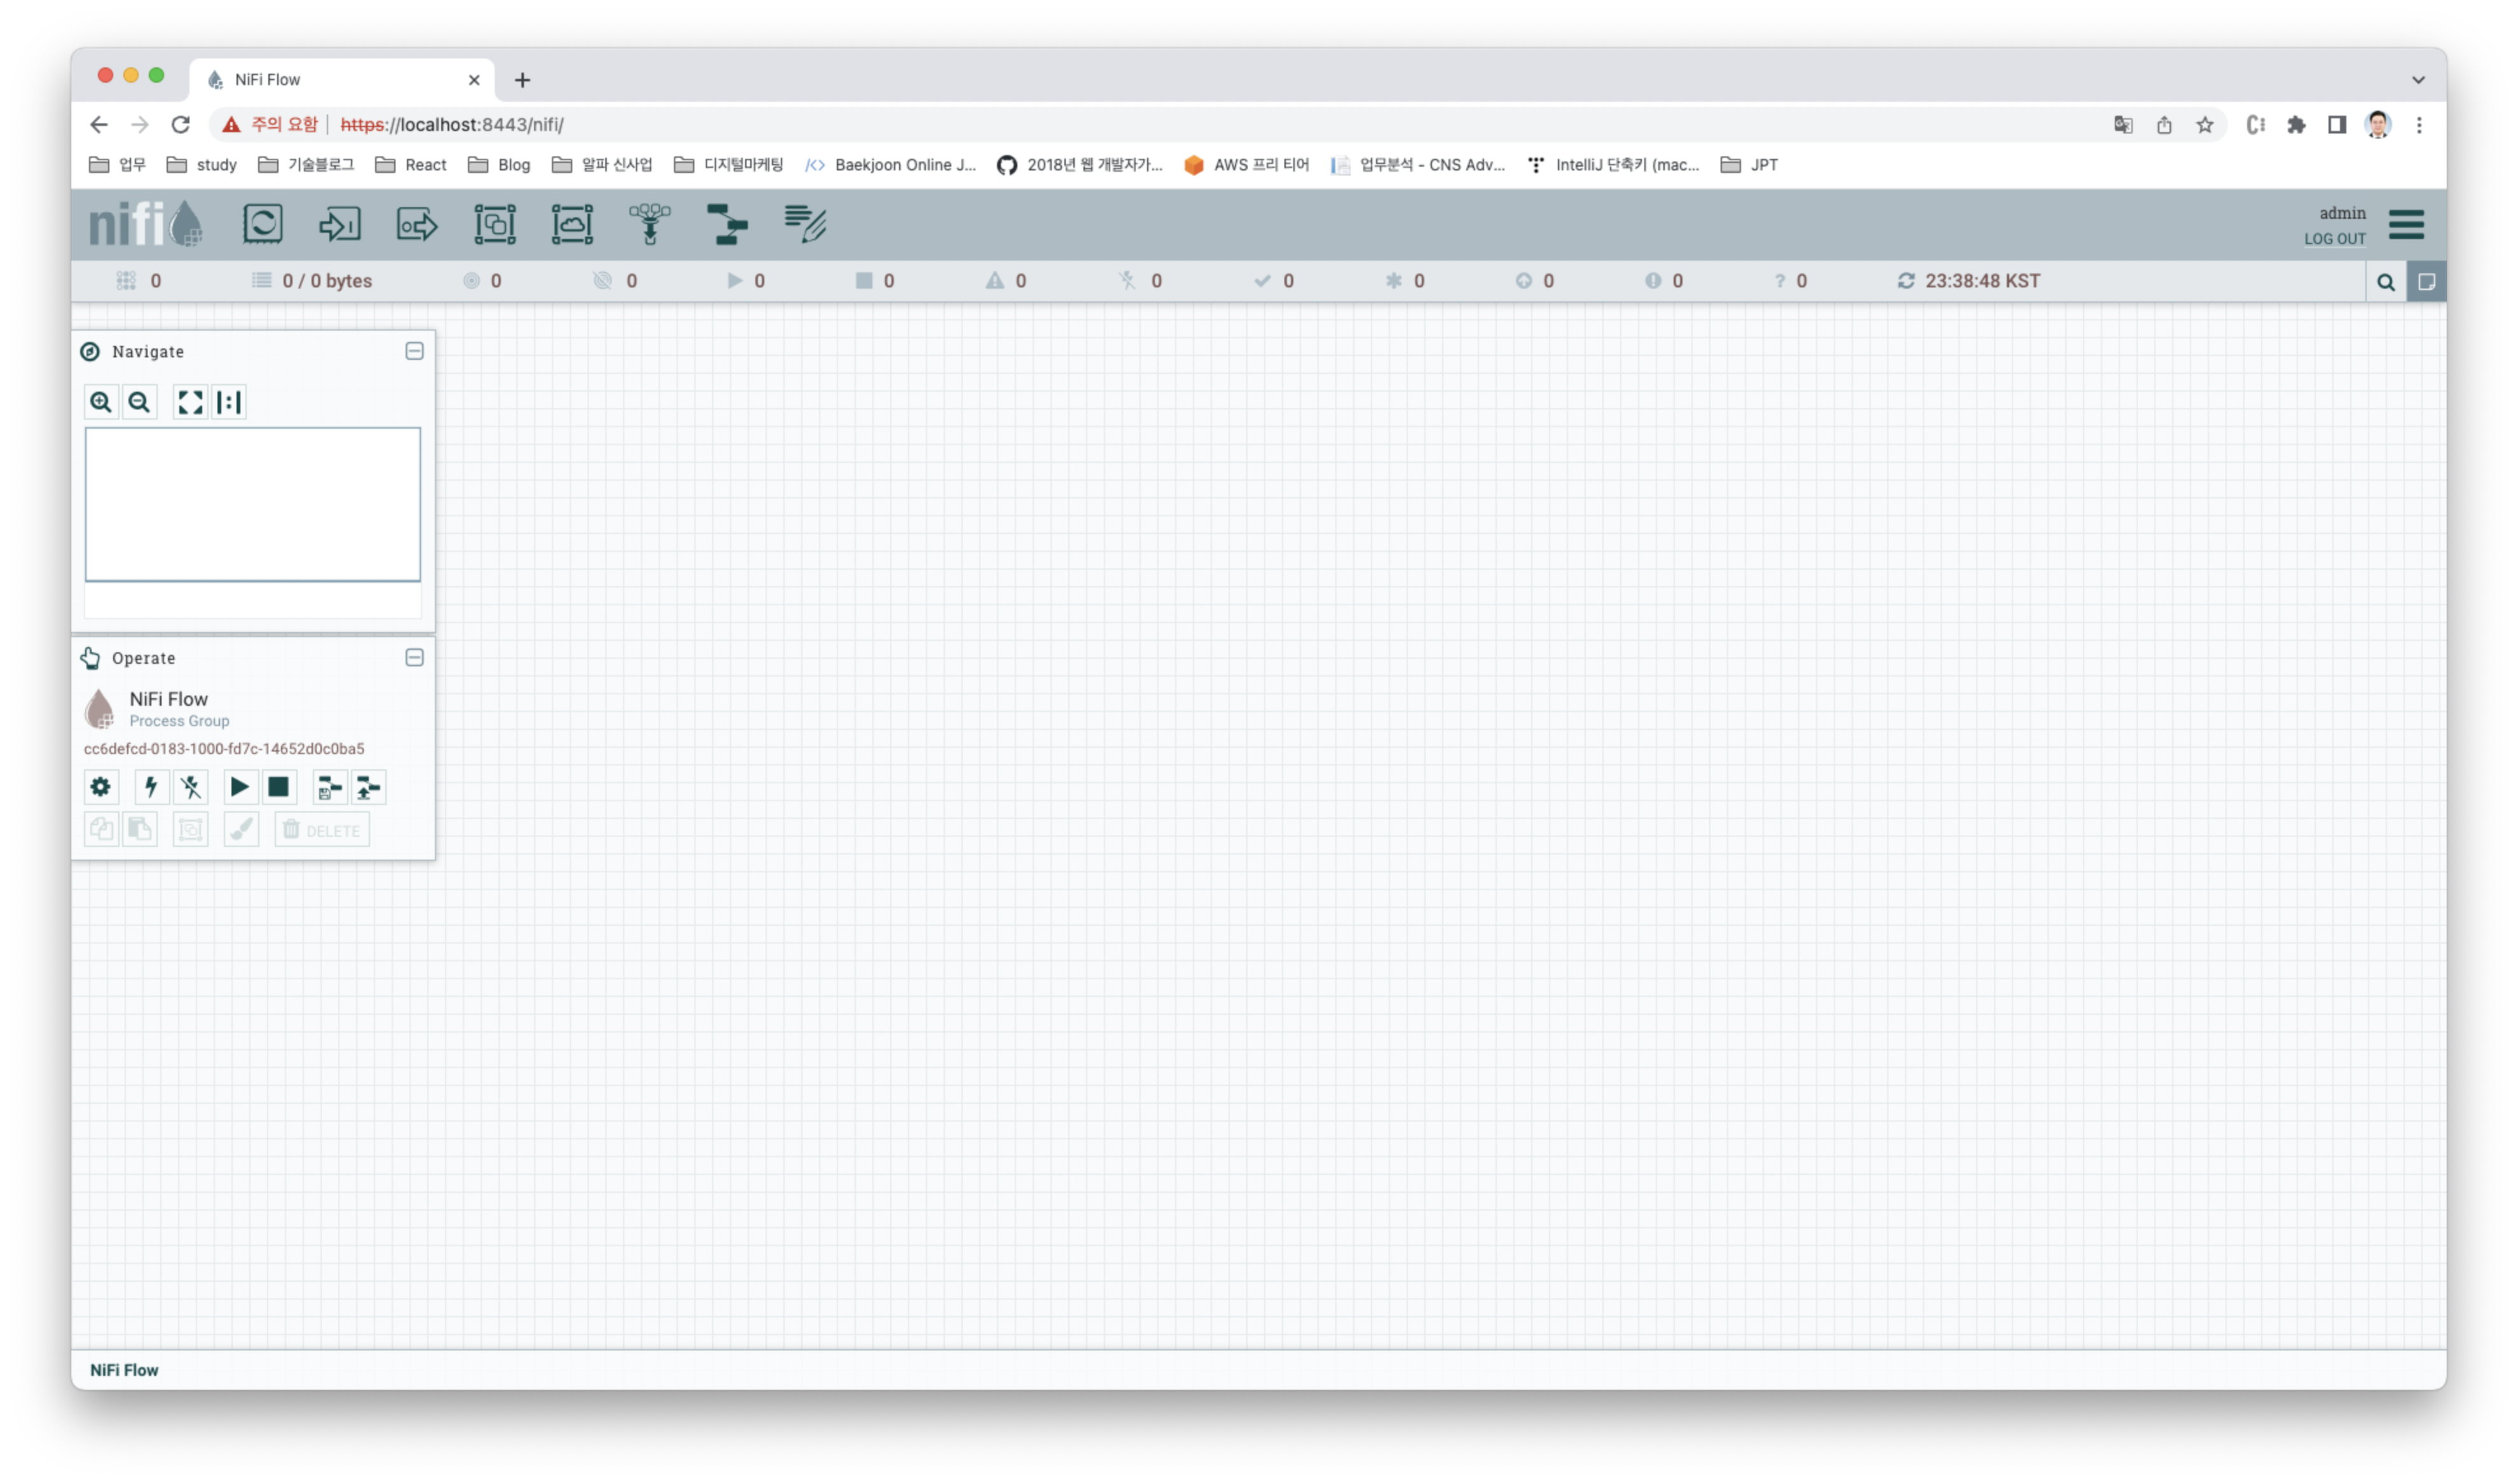
http를 사용하여 8080포트로 접근하려 했지만 잘되지 않아 기본설정으로 실행했더니 https로 연결되었다.
https://localhost:8443/nifi